News
Fix
Tips
Cars
News
Fix
Tips
Cars
01
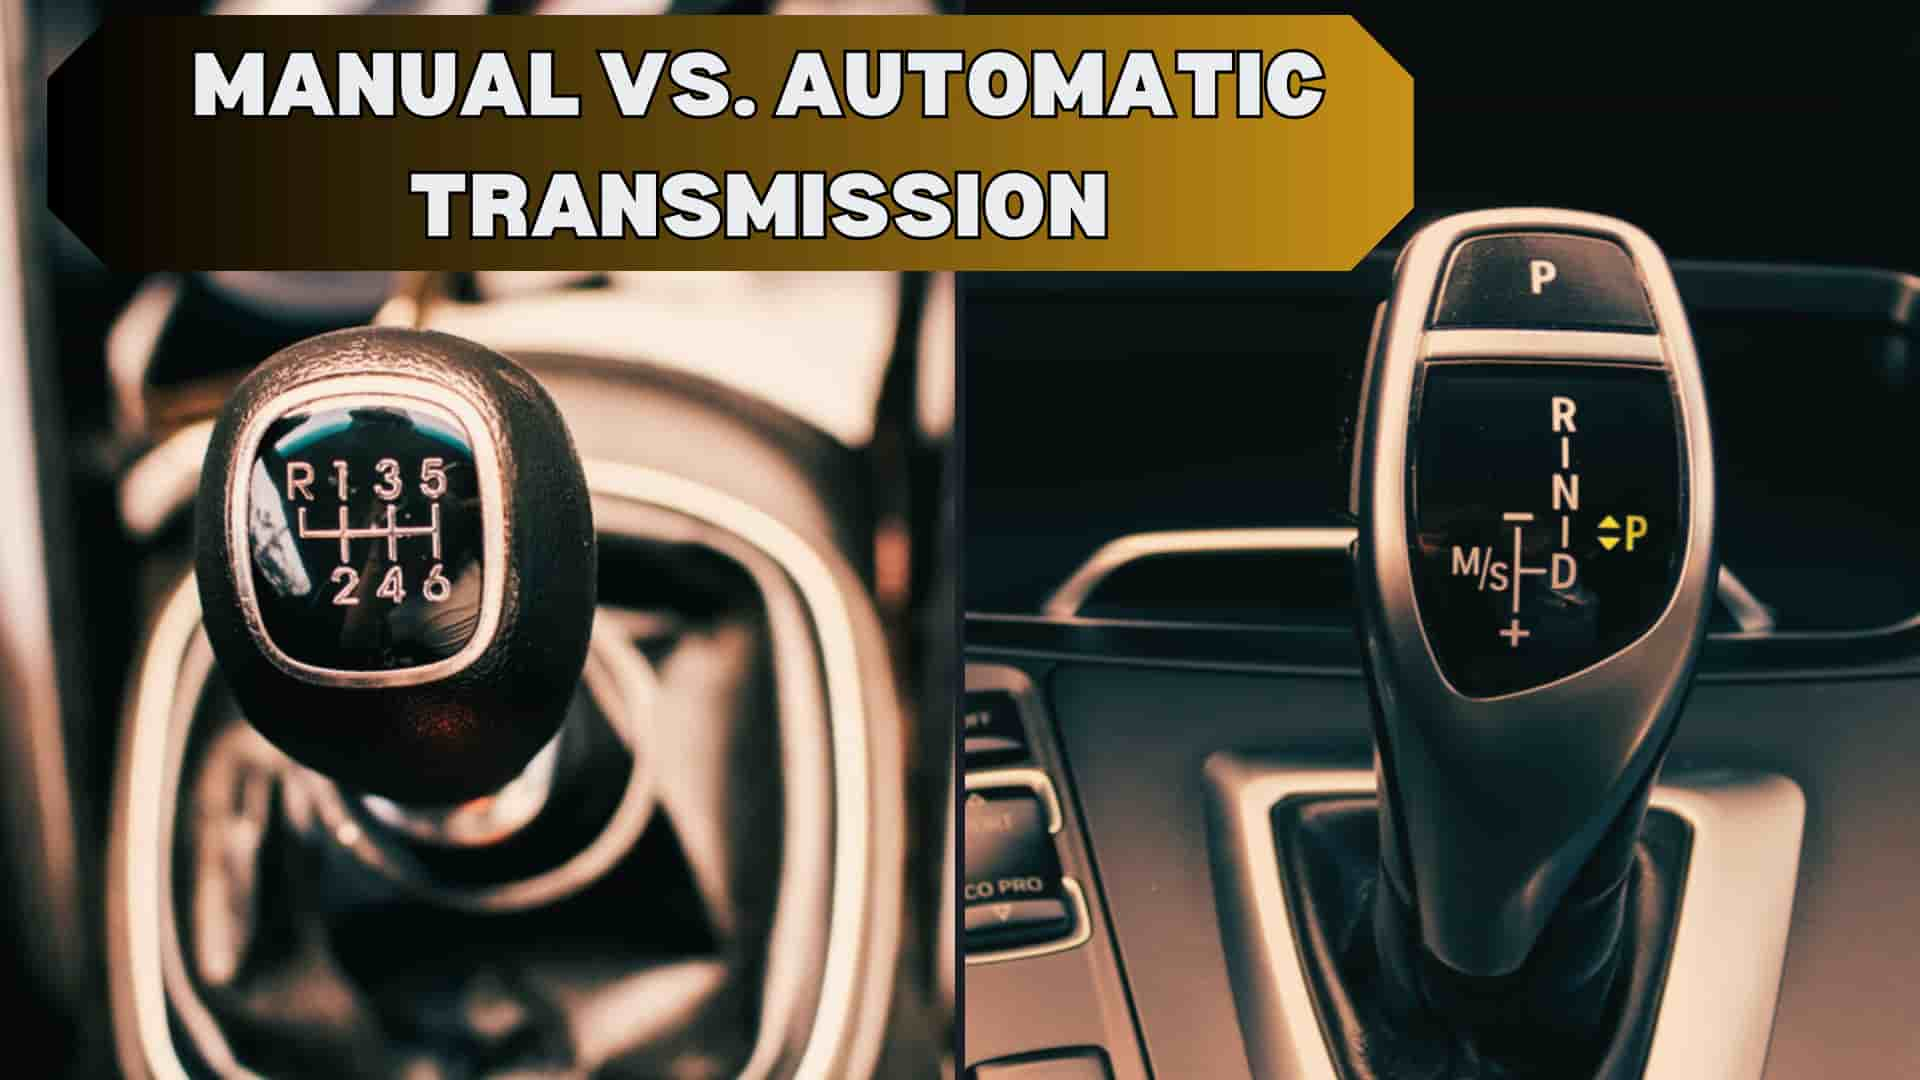
Manual vs. Automatic Transmissions: What’s the Difference?
Read Post
02
Let's fit a new speedometer cable
Read Post
03
A Shocking Shift: Why Are Drivers Turning Safety Tech Back On?
Read Post
04
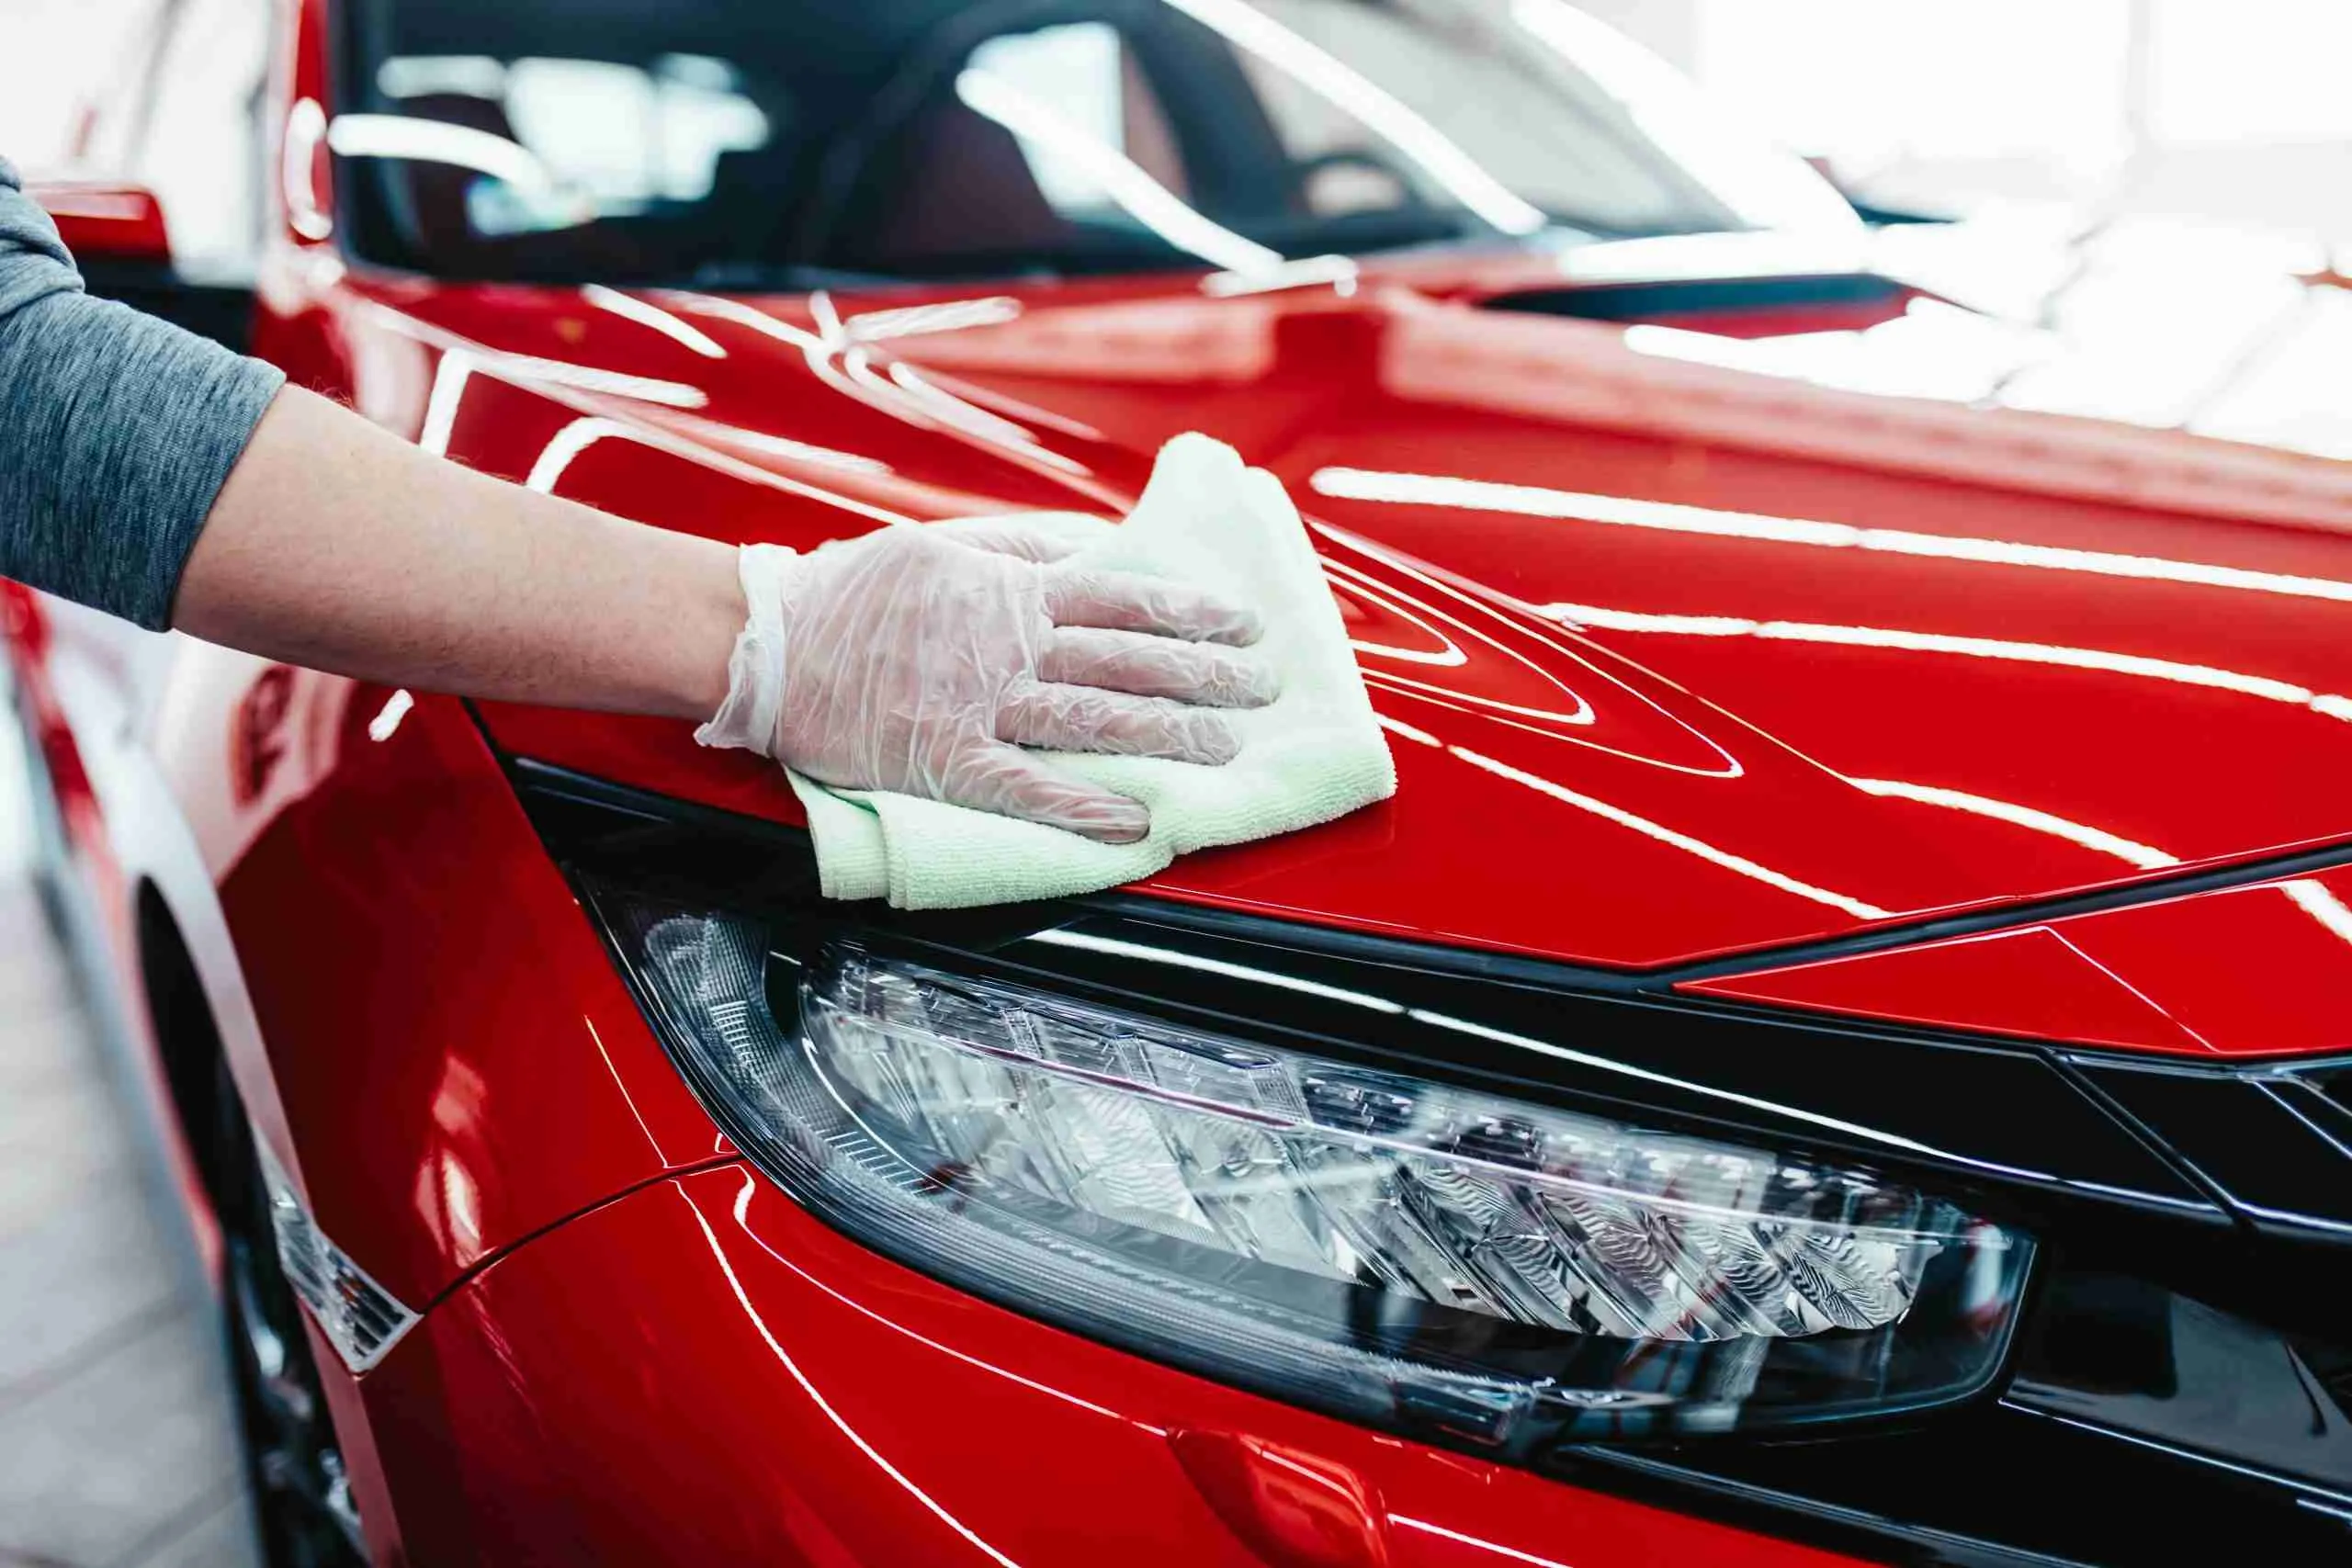
DIY Car Cleaning: A Guide to Interior and Internal Parts
Read Post
05
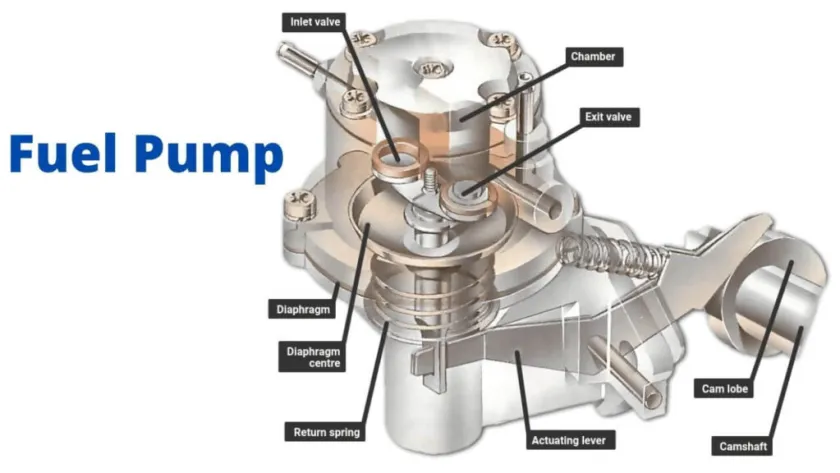
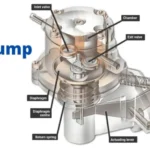
How to Check a mechanical fuel pump
Read Post
06
A Guide to Changing Your Car’s Front Windshield
Read Post
Tips and Tricks for you
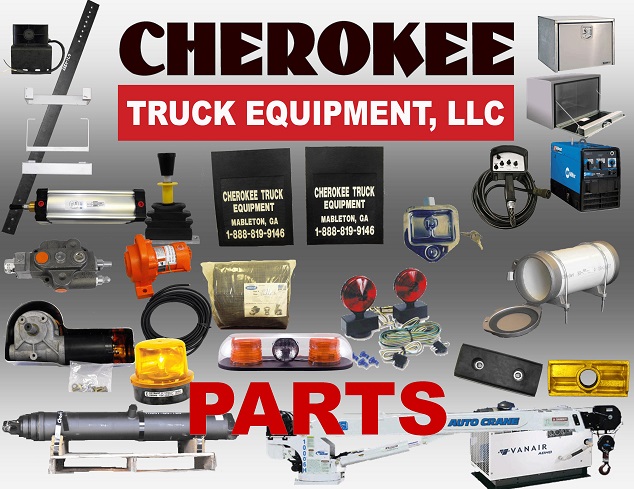
Some Basic Equipment for Your Truck
February 2, 2024
3 min read
Read Post
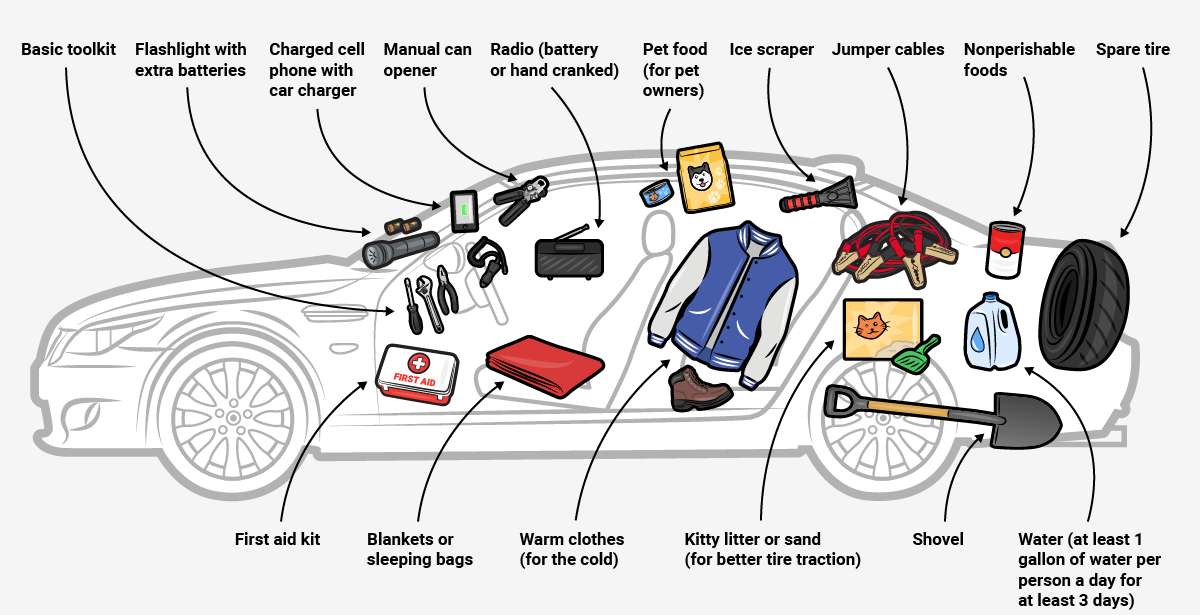
Top Things You Should Carry in Your Vehicles
March 11, 2024
2 min read
Read Post
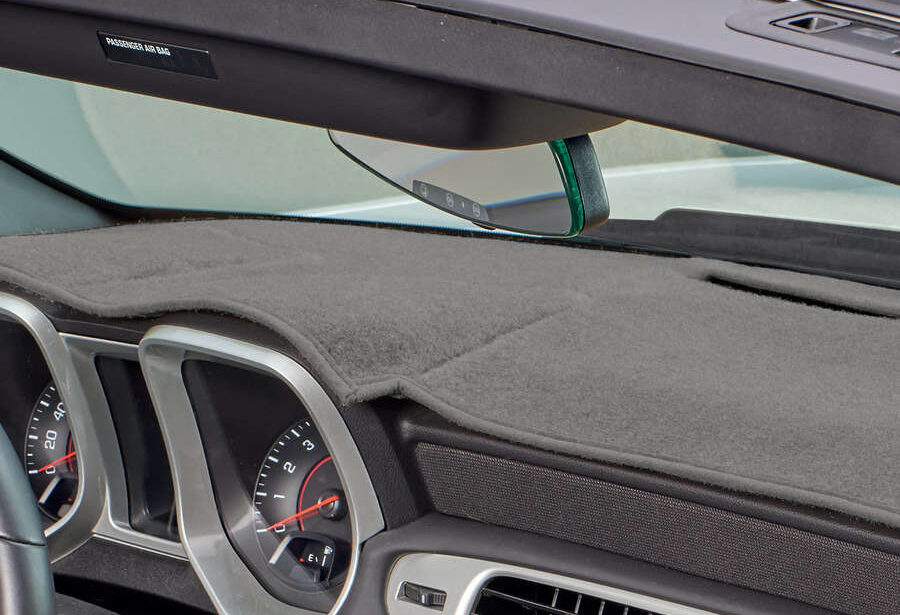
Why Do You Need A Dashboard Cover?
March 31, 2024
3 min read
Read Post
How to Keep Your Truck Cool this Summer
May 23, 2024
3 min read
Read Post
What a wonderful car here
HOT CAR REVIEW:NEW FERRARI 488 SPIDER 2016
June 25, 2022
4 min read
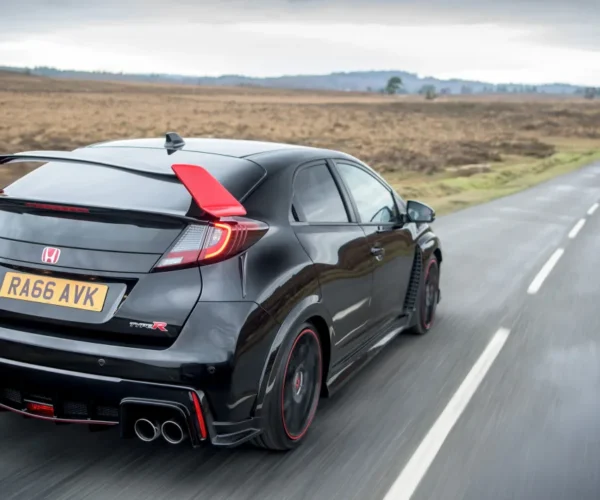
Honda Civic Type-R Black Edition revealed
2017 Hyundai Grand i10 launched and priced at Rs 4.58 lakh
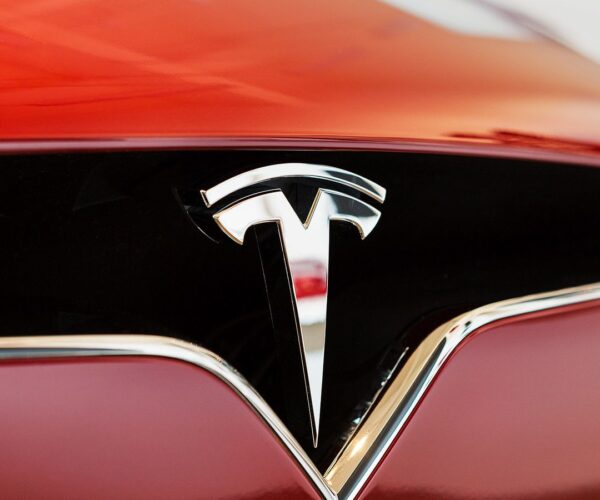
Leaked photos of the Tesla Model 3 ignite an internet power struggle
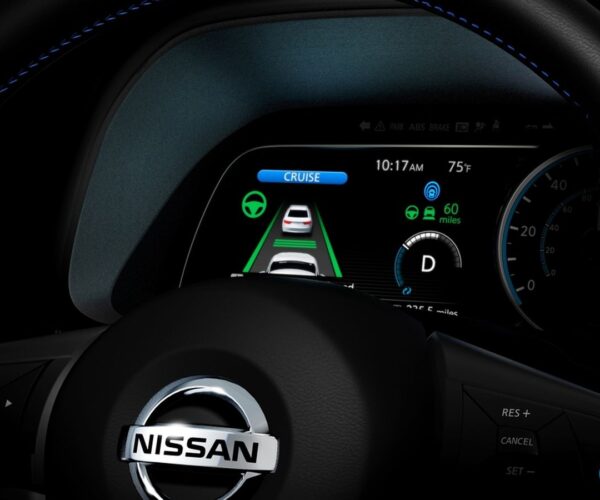
Nissan, eyeing fully self-driving cars, offers a glimpse of its new semi-autonomous Leaf
Need repair? Help yourself!
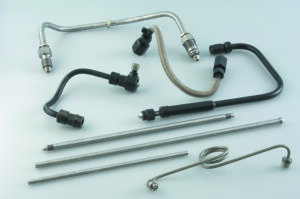
Checking fuel pipes
January 29, 2024
11 min read
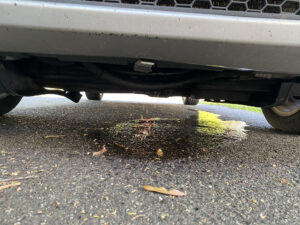
Checking for coolant leaks
February 28, 2024
4 min read
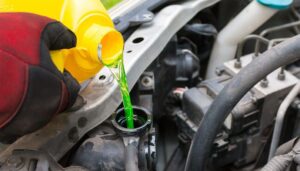
Draining and refilling a fully sealed cooling system
February 29, 2024
5 min read
How to replace a car thermostat
April 30, 2024
4 min read
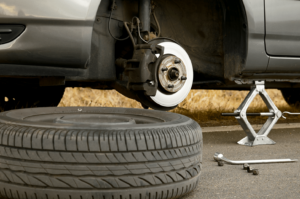
How to Change a Tire: A Step-by-Step Guide
May 6, 2024
3 min read
Cleaning fuel-pump filters
July 2, 2024
6 min read
A Guide to Changing Your Car’s Front Windshield
July 24, 2024
3 min read
How to Check a mechanical fuel pump
August 5, 2024
4 min read
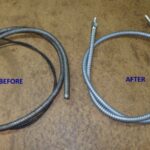
Let's fit a new speedometer cable
September 21, 2024
6 min read
Show more
Search
Recent on Blogar
Manual vs. Automatic Transmissions: What’s the Difference?
October 6, 2024
3 min read
Let's fit a new speedometer cable
September 21, 2024
6 min read
A Shocking Shift: Why Are Drivers Turning
September 3, 2024
2 min read