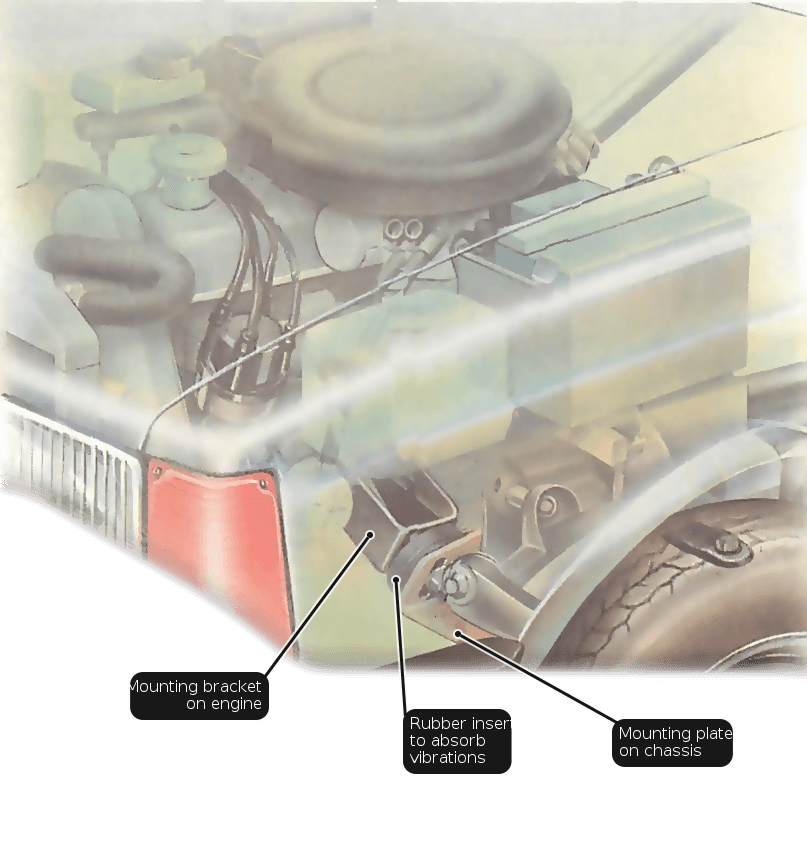
Engine rubber antivibration supports may from their combination on the metal plate of rupture or escape
Check the engine running. Pull the carburetor throttle connecting rod, the engine speed up for a while.
As it does so, watch the mountings; as the engine suddenly rocks on the mountings, any cracks or unbonded areas should open up.
Repeat with the engine switched off by rocking the engine by hand on its mountings.
Easy to see that installed longitudinal engines usually have two front pieces, it also on the gear box after installation.
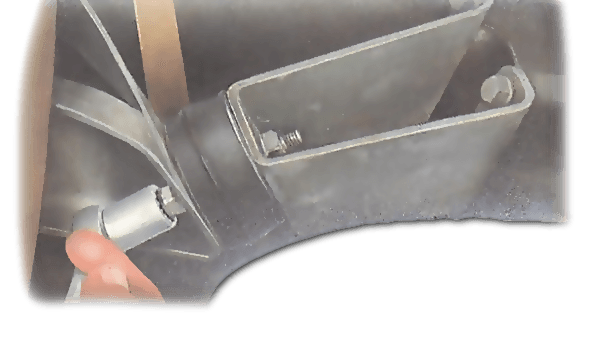
A transverse engine may have three or four mountings, some of which have to be checked (and if necessary replaced) from under the car.
Raise the front wheels on ramps with the handbrake applied and the rear wheels chocked. Ask a helper to actuate the throttle.
Please replace the two front engine installation, or horizontal installation of engine installed all if any defective.
Replacing the mountings
If the engine has a stable rod or damper (please refer to check the engine damper) should be fixed to the vehicle body, one end of the screw rod or damper under and clean it.
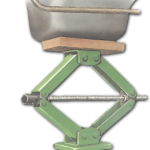
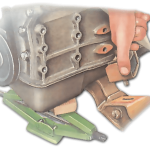
Support the engine with an adequate jack under the sump, as nearly as possible exactly between the mountings.
Protect the sump with a wood block at least 6 in. (150 mm) square and 1 in. (25 mm) thick.
Screw on jack, until the engine just rise. Look at the radiator hose, exhaust pipes, cables, pipes and connections, in order to ensure further movement will not oppress them. Disconnect anything of risk.
Raise the engine until the mountings are not bearing any load. The car body rises some distance too.
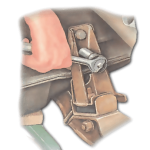
You may need to stand on a stool or wooden box to reach the mountings.
If you need to get off, make sure the engine and wheels are security support. In any vehicle, a disconnect only one installation, so that the engine doesn’t support separate jacks.
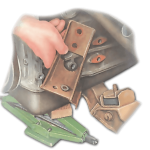
Undo the nuts and bolts holding the mounting to the engine and body, noting exactly how they and any washers are fitted.
Also note which way round the rubber part is fitted, then remove it and put in the new one.
Refit the nuts and bolts, but do not tighten them fully.
Replace other mountings as necessary in the same way.
Slowly lower the jack and remove it. Reconnect the steady bar and any disconnected engine fittings.
Start the engine and let it idle for a few minutes, so that it can be placed in its normal position when installing. Tighten the nuts and bolts.
Last but most important of all, in order to prevent loose, check the pipes and hoses to the engine all clamps to both sides of the tightness.